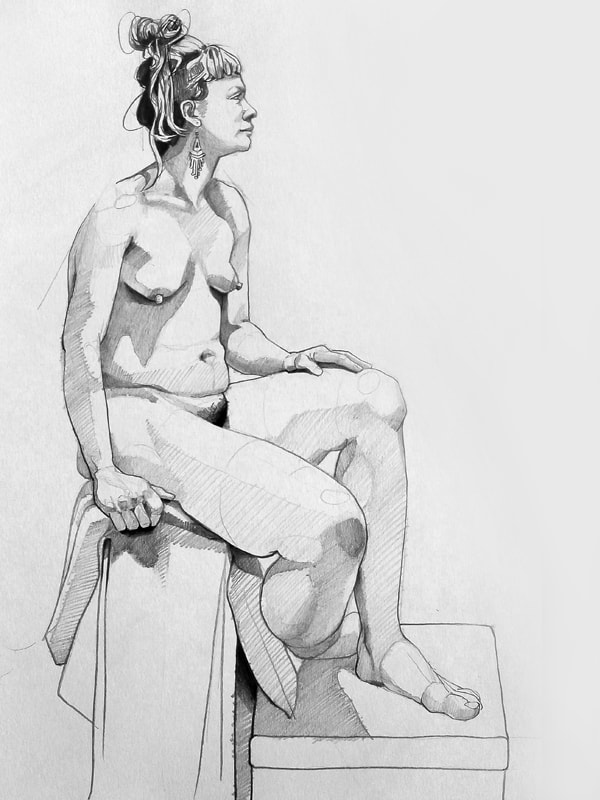
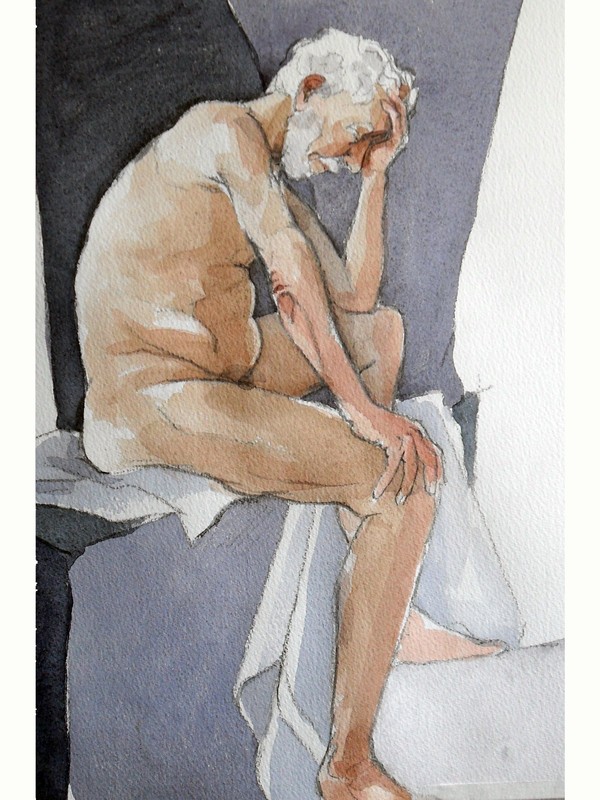
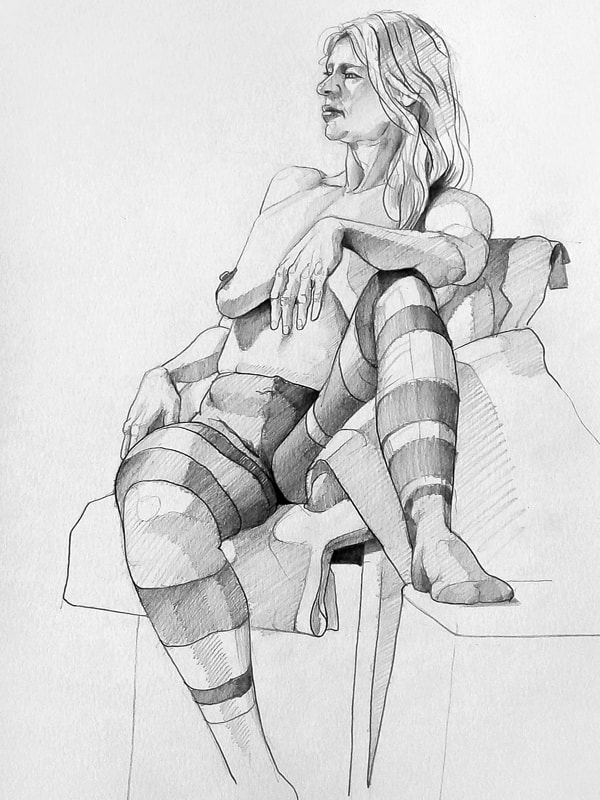
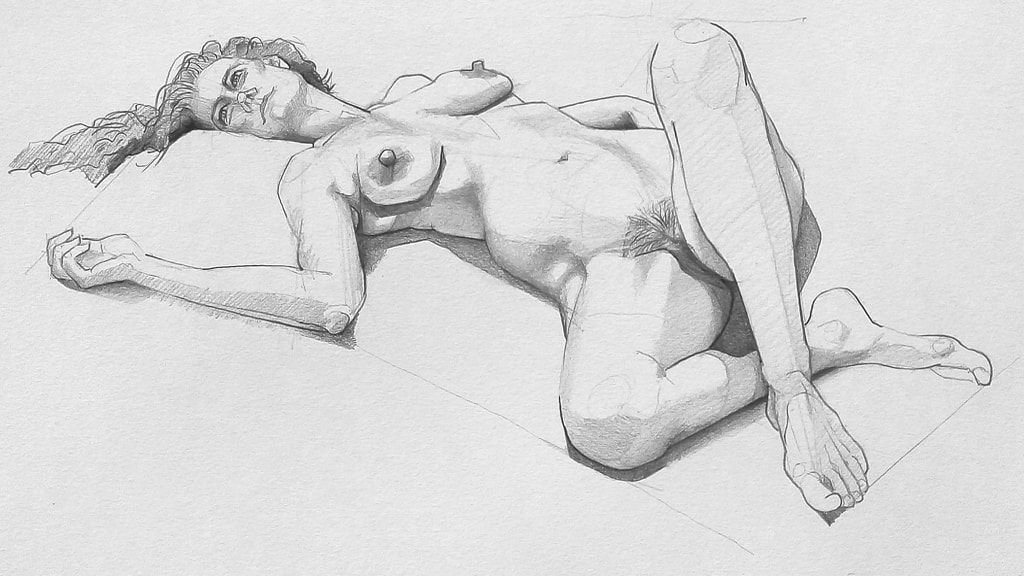
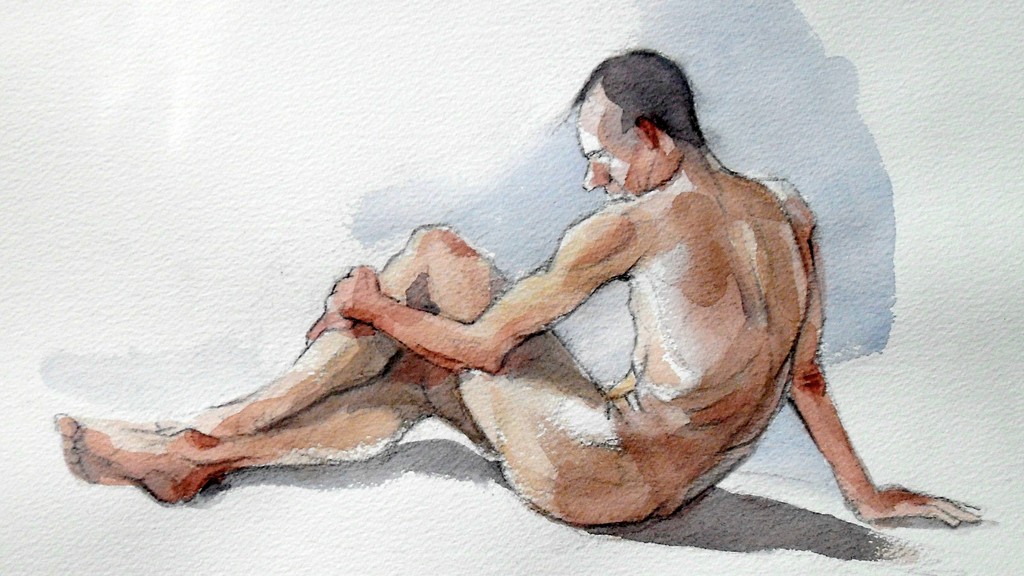
GuidanceStroud Life Drawing’s twice weekly sessions take place in a supportive environment in which help and advice are available if required. All drawings are valued as the unique and fascinating record of the artists’ response to the model over a period of time; each one is a personal record of the creative process. My role as organiser of the sessions is to facilitate working from the model and, on a Tuesday, offer individual support as required. |
Those attending the sessions are encouraged to ‘do their own thing’ in the manner and medium of their choice. This can leave those new to drawing, or those who have returned to it after a long break, in need of some pointers when it comes to seeing and drawing in an analytical manner.
Analytical observation simply means to consciously look in order to fully absorb the visual information contained within the subject. Angles and lengths of line, intersections, shapes, tones, textures and, perhaps most importantly, proportions and relationships all need to be perceived. |
The following guidance on this intense way of looking is in no way intended to be prescriptive or exhaustive but is simply offered for consideration and as support for those who might want some. Over the years, I have found such ‘tips’ useful in my own ongoing dialogue with drawing and I have also found them helpful in introducing the subject of the human figure to students.
The analytical approach to seeing and drawing in no way excludes a more intuitive, expressive or emotional response to the life model but it can be a useful starting point. |
|
[1] Before starting, take some time to consider your view point (if the life room is busy you may have limited choice over this) and select what you want to include in the drawing.
[2] Do not be afraid to make your first marks. It does not really matter where you start a drawing just so long as you start! Very often the first marks will be quick, quite intuitive, light-weight lines mapping out how the drawing will ‘sit’ on the page. [3] Have an awareness of the skeletal structure of the body and use those points where the bones are near to the surface as important landmarks. [4] Notice the edges of a subject. Where does one thing end and another begin? These will often be recorded as outlines on the drawing but the internal marks and lines are equally important. The angle & length of line are crucial. Consider the weight of line or if there needs to be a line at all. [5] As well as the shapes of the body, try to notice the negative shapes around it. If these are observed and drawn it will help enormously with the accurate recording of the figure. One cannot really be considered in isolation from the other. [6] Notice the light and dark tones, thus the form of the body. Also consider the tones which surround the body and how the two relate to one another. To what extent will your drawing rely on line, tone or a combination of the two? Explore different types of mark making for recording tone. [7] Notice the relationships of the parts to each other and to the whole. These relationships emerge as the drawing evolves. |
[8] Checking and rechecking angles of lines, shapes and relationships between the parts is fundamental to the drawing process. Amendments will almost certainly have to be made. So long as it is not too confusing, try leaving the ‘incorrect’ marks, rather than rubbing them out. Very often this makes for a fascinating record of the drawing’s evolution.
[9] As part of the drawing and checking process, use verticals & horizontals to identify the alignment of different parts. [10] It can be helpful to measure the length of the head (pencil in outstretched arm) and use this as a comparative unit of measurement. Do not worry if you are unfamiliar with this technique as I will be happy to explain it! [11] Constantly be aware of the whole thing (subject and drawing). Train the eye to move from one place to another. Do not get ‘bogged down’ in detail; simply move on to another part of the whole. [12] Ensure that every mark made has meaning. Recognise marks which are irrelevant to your intentions and do not slip into ‘automatic’ mark making. [13] Resist naming the parts (leg, arm, etc.) but try to see them as shapes and forms; trust your eyes and do not draw a face or foot, for example, as you are used to seeing it or as you know it to be. [14] Do not worry about making a ‘nice’ drawing but be concerned with getting an accurate drawing. If it is accurate it will probably look good! [15] Pace yourself over a set period, be it half a minute, hour or day. [16] Look upon the task as a complex puzzle and enjoy the challenge! |
